Learn how to use sourdough starter by making the most of your starter with these delectable recipes for discards and cherished culinary staples.
Sourdough starters are one of the most versatile items you can keep in your home. You can make not only delicious artisan-style breads, but also pancakes, pizzas, and muffins. Sourdough starter is easy to make, keep, and use, so let’s dig in!
Making your own sourdough starter is simple and requires only two ingredients (flour and water), a mason jar or crock, and a breathable covering for your container (for example, a clean dish towel and rubber band). To begin, combine 1/4 cup flour (use what you cook with the most) and 1/4 cup unchlorinated water in a wide-mouthed mason jar or crock. Stir well and then cover it tightly with a breathable cover. For the next three days, add 1/4 cup flour and 1/4 cup water every day. By the fourth day, you should notice some bubbling. This means your starter has activated! If your starter isn’t bubbling, continue the process of adding flour and water for another 1 to 2 days. When your starter starts to bubble, add 1/2 cup water and 1/2 cup flour. Stir well and let it sit for 12 hours.
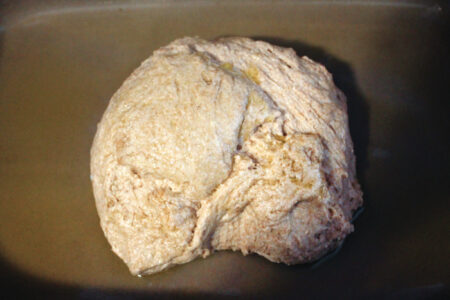
Now, you have a sourdough starter that’ll work well in biscuits, pancakes, pizzas, and other low-rising breads. To produce a bigger rise, your starter will need to be mature (about 1 month old). To use your starter, remove the desired amount and place in a separate bowl. Feed your remaining starter with 1 cup water and 1 cup flour. Stir well and cover.
You’ll have a few options for maintaining your starter. If you’ll be using your starter every day or every couple of days, leave it on your counter and feed it every day. If you’re only using your starter once a week or even less frequently, then store it in the refrigerator with a tight lid to prevent odors from contaminating it. This will also prevent the starter from drying out.
Remove your starter and feed it the day before you intend to use it. After the starter has become bubbly and active, remove the amount needed. If you need your starter to become active quickly or if you’ve left your starter in the refrigerator for an extended period of time, simply feed the starter every 12 hours instead of every 24 hours.
Every time you feed your starter, first remove an equal amount or more from the starter. This is called the “discard,” although there’s certainly no need to actually discard it! Discards can make wonderful quick breads, pizza crusts, batters, and more.
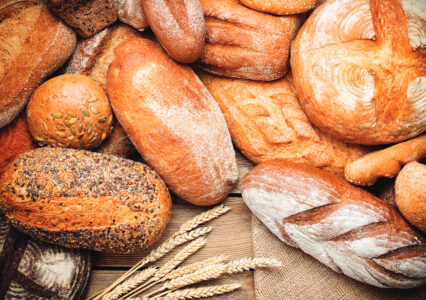
Scrumptious Sourdough Recipes
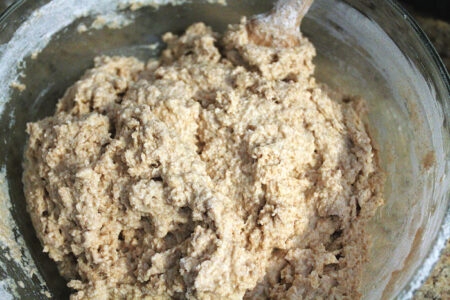
After your starter has matured, you can start making higher-rising breads, such as crescent rolls, artisan no-knead bread, and sandwich bread. Don’t add too much flour when first making your dough or batter. The rising or fermenting time will allow the flour to absorb the moisture in the mixture, and too much flour will create a heavy, dry loaf. In my experience, adding just enough flour to produce a thick batter that’s difficult to stir but too wet to knead is the perfect texture. It’s better to add too little flour than too much, because you can always add a small amount of flour when you’re dividing the dough into loaves or rolls, or when you’re working to shape the bread.
I use freshly ground, whole-wheat, hard white winter flour. Freshly ground flour is superior in taste and quality, in my experience, but you can also use unbleached all-purpose flour, bread flour, rye, hard red wheat, or 1 part white and 1 part wheat. Depending on your flour, you may need to make some adjustments, such as adding more or less water, or kneading for a shorter or longer time. If you’d like to grind your wheat fresh, you’ll need a grinder. With that, you can make a truly custom bread. A few other ingredients I use are quality salt, fresh eggs, milk powder, raw sugar or honey, butter, and olive oil.
To store your baked bread, wrap it to retain moisture. Never wrap your bread until it’s completely cooled, though. Once it’s cooled, store the bread in storage bags, aluminum foil, snap-tight bowls, or a bread box. The bread will last around 5 to 7 days. You can also freeze your bread and thaw it for fresh-tasting bread anytime!
Tips for Success
While sourdough starters are rather forgiving, some things can go wrong.
- Not feeding your starter enough can cause a liquid or crust to form on top. This is easily remedied: Just stir and feed!
- Most colors on top of the starter are harmless, but throw your starter out if it becomes hairy or fuzzy or has pink, red, or orange spots.
- Don’t store your starter by other ferments. One time, I was storing kombucha and sourdough near each other, and I’d find SCOBY on the starter, which is somewhat common. So, I prefer to store mine in different rooms, or at least not side by side.
- Store your starter where it’s not too warm and where you can keep an eye on it.
- Pour your starter into a clean container frequently to help prevent buildup on the jar, which can grow undesirable microbes. Make a starter, keep it clean, and enjoy it for years to come!
Jenny Underwood is a homeschooling mama to four lively blessings. She makes her home in the rural foothills of the Ozark Mountains with her husband of 20 years. You can find her reading a good book, drinking coffee, and gardening on their little fifth-generation homestead.
Originally published in the October/November 2025 issue of MOTHER EARTH NEWS and regularly vetted for accuracy.


